Introduction
Tannin bleed is one of the greatest disappointing concerns in painting, particularly when working with wood surfaces. These everyday compounds can leak through paint layers, leaving horrible yellow or brown stains that ruin the finished look. Professional builders understand a consistent process to block tannin bleed efficiently and guarantee enduring results.
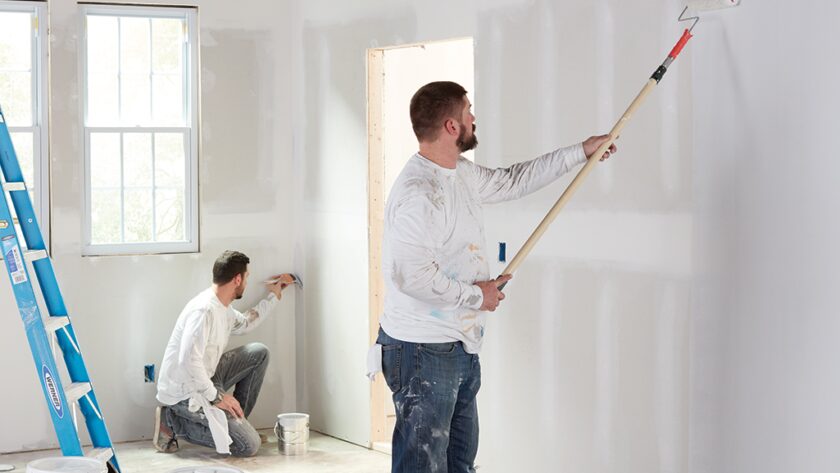
In this guide, we describe the step-by-step process contractors use to block tannin bleed, so you can learn how to achieve an intact and durable paint task.
Why Proper Treatment of Tannin Bleed Is Important
Before diving into the process of fixing tannin staining, it’s important to appreciate that reason proper cure matters.
Key reasons:
- Prevents stains from reappearing
- Improves paint adhesiveness and durability
- Enhances the overall presentation of surfaces
- Protects wood from moisture damage
Steps of Fixing Tanning Bleed
1. Surface Inspection
Professional contractors continually begin accompanying a particularized inspection.
What they expect:
- Visible stains or discoloration
- Signs of dampness, damage, or leaks
- Type of wood and allure tannin content
- Condition of existing paint or coating
Why this step matters:
A correct assessment helps label the root cause of tannin bleed and determines the right cure method.
2. Fix Moisture Issues First
Moisture is the main bring about for tannin bleed, so contractors address it mainly.
Common fixes:
- Repair roof or plumbing leaks
- Seal cracks or gaps in walls
- Improve ventilation in moist regions
Benefits:
- Prevents future staining
- Ensures the effectiveness of primers and paint
3. Surface Cleaning
- Remove dust, mildew, or debris
- Allow the surface to dry completely
4. Damaged Paint Removal
Damaged paint tiers can trap tannin and moisture below.
What contractors do:
- Scrape off peeling or flaking paint
- Sand coarse or uneven regions
- Smooth the surface for even use
Benefits:
- Creates a stable base for new coatings
- Improves overall finish characteristic
5.Stain-Blocking Primer Apply
According to professional painters, this is the most crucial step in obstructing tannin bleed.
Types of primers used:
• Oil-located primers:
Effective for most tannin stains
• Shellac-based primers:
Best for harsh staining issues
How contractors ask primer:
- Apply an even coat over the entire surface
- Focus on tainted areas for extra inclusion
- Allow enough drying time
Why this step is critical:
- Seals tannin inside the wood
- Prevents stains from bleeding through paint
6. Sanding the Surface
After preparation, contractors may effortlessly sand the surface to guarantee smoothness.
Purpose of rub:
- Removes minor flaws
- Creates a uniform surface
- Improves the final paint finish
7. Apply Best Paint
Best practices:
- Use excellent, stain-resistant paint
- Apply not completely two coats
- Allow proper drying period between coats
Benefits:
- Provides a durable and appealing finish
- Adds an extra layer of care against stains
8. Inspect and Touch Up
After painting, contractors perform a final examination.
What they check:
- Any signs of stain bleed-through
- Uneven paint inclusion
- Areas needing touch-ups
Why this step matters:
Ensures a spotless finish and prevents issues from being missed.
Things to avoid
Even small mistakes can bring about tannin staining coming back.
Avoid these errors:
- Skipping primer or using the wrong type
- Painting over humid or wet surfaces
- Using low-quality matters
- Ignoring fundamental moisture questions
Benefits of Professional Techniques
Hiring professionals or following their orders offers several benefits:
- Long-lasting stain care
- Improved paint durability
- Better beautiful results
Conclusion
Blocking tannin grieve demands more than just executing a new coat of paint. Hiring an expert painter near your area can help you.